How does Ultrasky Roof Lantern Installation Work?
Date: 18/04/18
Installing an Ultrasky roof lantern is a simple process for an experienced installer. Some customers with building or glazing experience prefer to install themselves, but we’d only recommend this if you are 100% confident.
It’s a high-end, quality product, so installation is best left to professionals. When you’re ready to buy your roof lantern, check Yellow Pages for trusted glaziers and builders in your area.
Every roof lantern will arrive with detailed installation instructions. The following gives you a brief overview of how the installation works.
Measuring for your Roof Lantern
Measurements for an Ultrasky roof lantern are based on a timber kerb which is laid around the perimeter of the hole. Usually, a kerb will be 150mmx70mm diameter.
In measuring up for a roof lantern the calculation is usually:
Length = Length of hole + (2 x Kerb Width)
Width = Width of hole + (2 x Kerb Width)
For example, if a hole is 1000mm x 1500mm and the kerb is 70mm wide, the roof lantern that is ordered will measure 1140mm x 1640mm.
The Installation Procedure
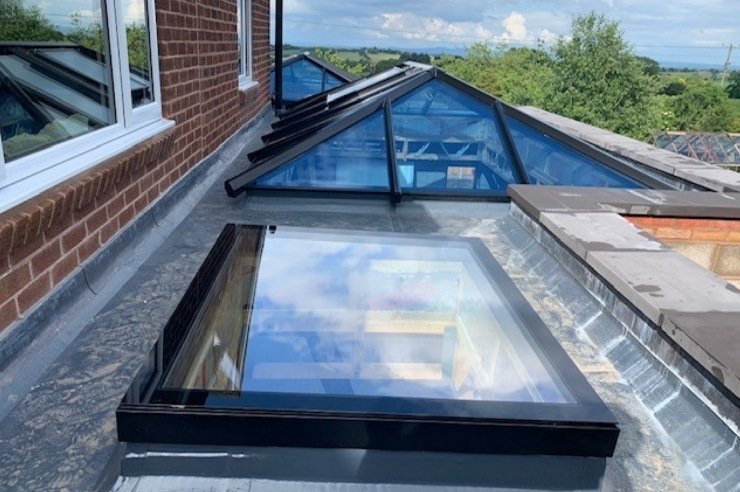
Firstly, buy your roof lantern and pray for a dry day! The hole is prepared, and the timber kerb is fixed around the edge. The glazing and frame will be packaged separately to protect them in transit, but they will arrive on the same day. Once the components arrive, a membrane is laid around the kerb and silicone is applied.
The eaves are then screwed down and the corner joints are applied with silicone.
Using a support, the prop ridge is put in place (the top bar) and the hip bars are added (the sides). The frame is now in place. The edges are lined with silicone and the advanced self-cleaning glazing is put in place.
Finally, top caps are added and the unit is given a final seal.
Full instructions on how to install are available from the website. Alternatively, please call our experts if you’d like more information on 01200 452 246.


